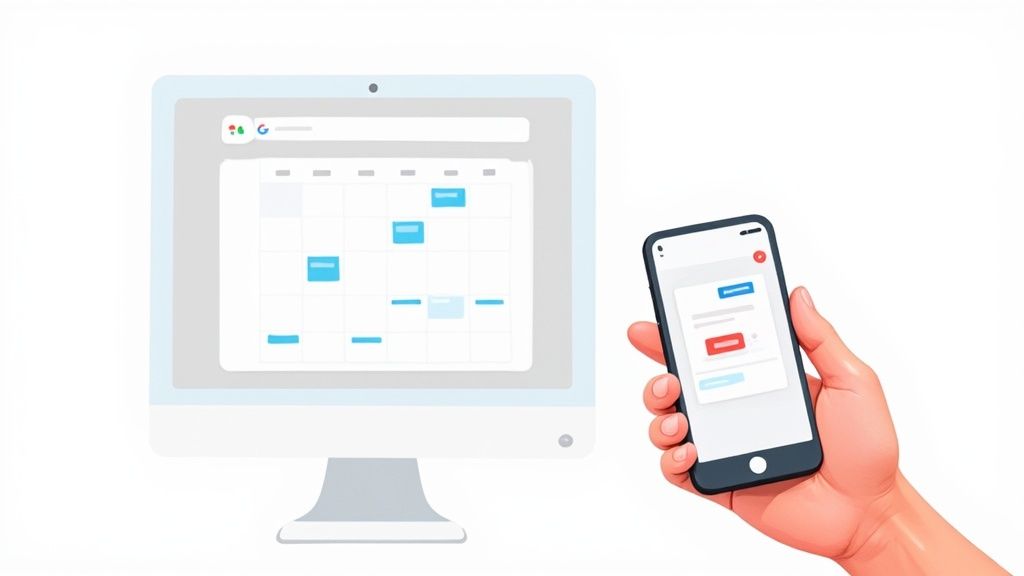
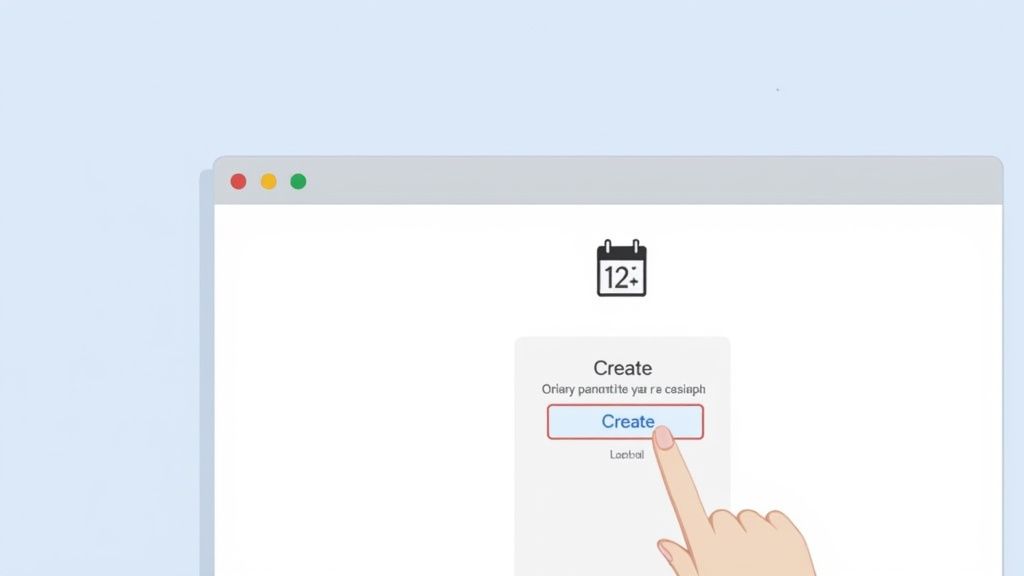
Getting events onto your Google Calendar is pretty straightforward. On a computer, you can either hit the big "Create" button or just click directly on a time slot in your calendar grid. If you're on your phone, you just tap the colorful "+" button. Both ways let you quickly plug in the basics - like a title, date, and time - and have it on your schedule in moments.
Your Quick Guide to Adding Google Calendar Events
Before you can master your schedule, you have to get good at adding events efficiently. It's no surprise that with over 500 million monthly active users, Google Calendar is a powerhouse in the world of digital planning. People love it - it boasts a 4.8 out of 5 rating from thousands of reviews - because it's just so simple to use while still packing a punch with its features.
As the Social Media Manager for Add to Calendar PRO, I’ve seen what works and what doesn't. Knowing the different ways to add an event means you can always pick the fastest method, whether you're planning a detailed meeting at your desk or quickly blocking out time on the go.
Choosing Your Event Creation Method
The best way to add an event really comes down to what you're doing. Need to add a quick reminder for a call? The "Quick Add" feature is your friend. But if you're setting up a detailed meeting with a location, attachments, and a list of guests, you'll want to use the full event creation form to get it right.
This infographic breaks down why so many people lean on Google Calendar for organizing their lives.
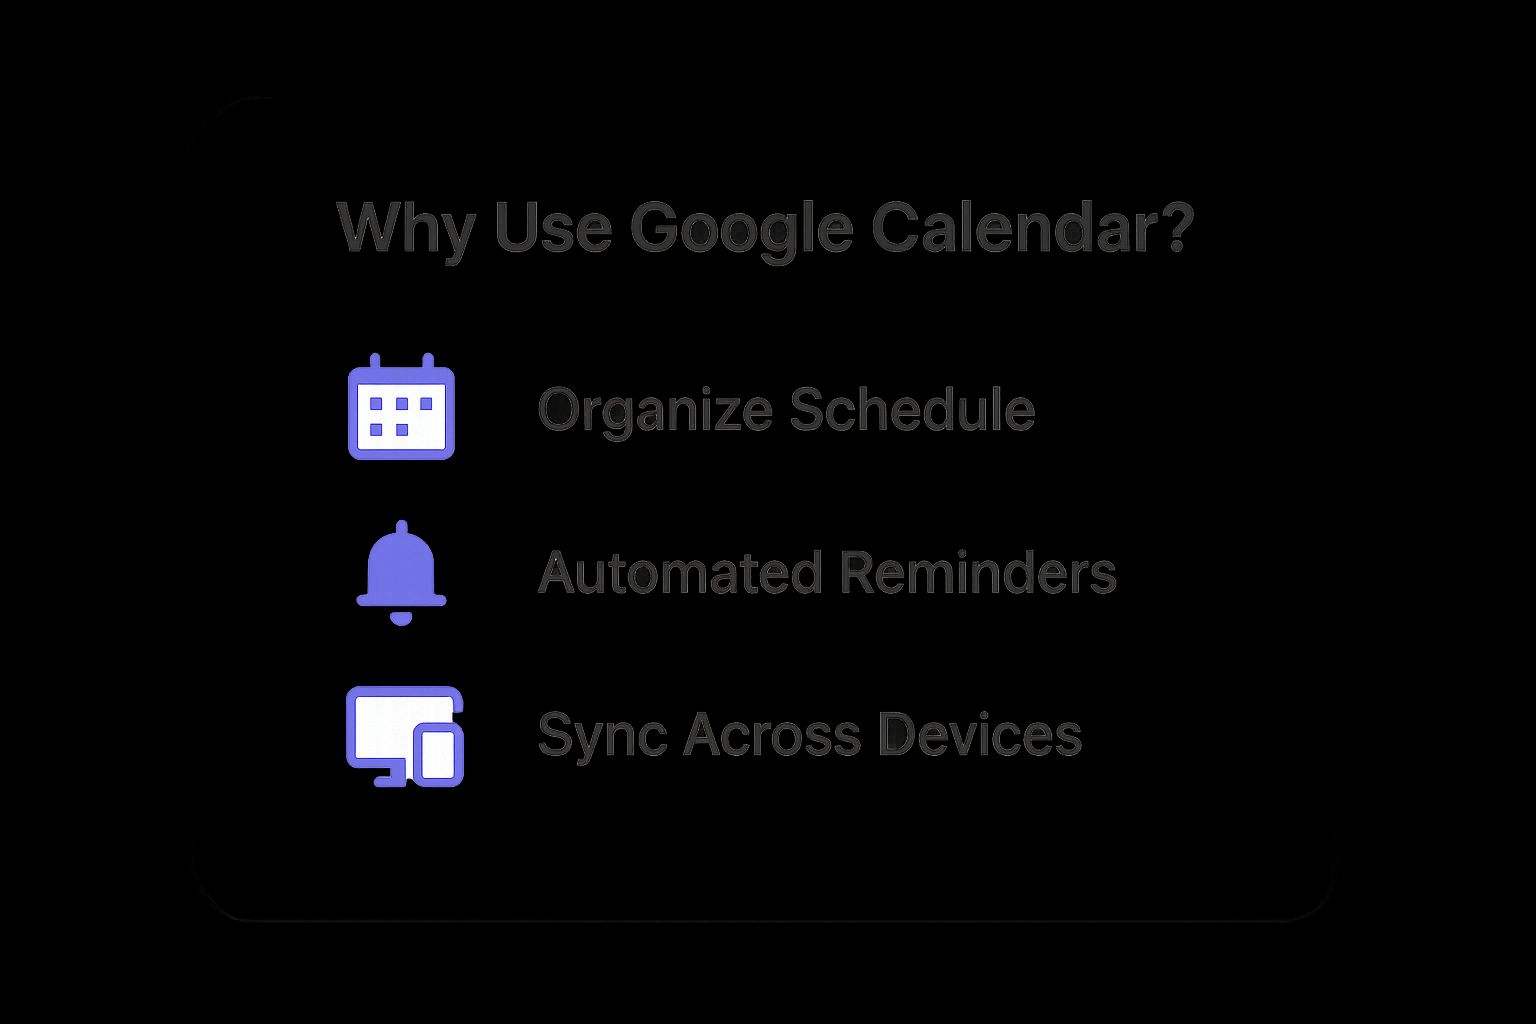
It’s that combination of solid organization, automatic reminders, and working perfectly across all your devices that makes it such a reliable tool for both work and personal life.
The real power of a digital calendar isn't just storing dates; it's creating a system you can trust. When adding an event becomes second nature, you free up mental energy for more important tasks.
To help you decide which method to use at a glance, I've put together a quick comparison table below. For a much more detailed walkthrough of every step, be sure to check out our complete guide on adding events to Google Calendar.
Choosing Your Event Creation Method in Google Calendar
Here's a quick comparison to help you choose the right method for any situation.
| Method | Best For | Key Feature | Platform |
|---|---|---|---|
| "Create" Button | Detailed event planning with guests, locations, and attachments. | Opens the full event creation window with all options. | Desktop |
| Clicking a Time Slot | Quickly blocking out time for a specific task or appointment. | Instantly sets the date and time, reducing manual entry. | Desktop |
| Quick Add Feature | Entering events using natural language (e.g., "Dinner at 7 PM"). | Parses your text to automatically fill in event details. | Desktop |
| "+" Button | Adding events, tasks, or reminders while you're away from your desk. | A central, easy-to-tap button for all scheduling needs. | Mobile App |
Each method has its place, and knowing which to use will make managing your schedule feel effortless.
Mastering Event Creation on Your Desktop
While mobile is great for quick entries on the go, the desktop version of Google Calendar is where you can really roll up your sleeves and fine-tune every detail. This is where you move from just blocking out time to building a complete resource for yourself and your guests. The robust interface is a huge reason why it’s so popular for serious planning.
In fact, when people are at their computers, Google Calendar accounts for a whopping 15.44% of the calendar market, leaving competitors like Apple and Outlook in the dust. That number really speaks to its central role in both our personal and professional lives. If you’re curious, you can check out more calendar usage trends to see the full picture.
Let's walk through a few real-world scenarios to show you how to get the most out of the desktop features.
Setting Up a Recurring Team Meeting
So, you need to schedule a weekly team sync every Monday at 10 AM. Creating that event manually week after week is a recipe for mistakes and a total time-sink. Instead, let's set it up once and let the calendar do the heavy lifting.
Start by hitting the big "Create" button and give your event a title, something like "Weekly Marketing Sync." Once you've set the first date and time, you'll see a dropdown menu that says "Does not repeat." Click on that, and a whole world of scheduling options opens up.
You can pick from handy presets or get granular with a custom schedule.
- Daily: Perfect for those quick morning stand-ups or even personal habits.
- Weekly on Monday: Exactly what we need for our team sync.
- Monthly on the first Monday: Great for things like recurring reports or review meetings.
- Custom: This is where the magic happens. You can set up complex schedules, like a meeting that happens every two weeks on Tuesdays and Thursdays.
By making it a recurring event, you lock in that consistency and claw back precious time every single week.
Scheduling a Client Consultation with Video
When you're booking a meeting with someone outside your company, your number one job is to make it ridiculously easy for them to join. Google Calendar nails this.
After you've picked a time and added your client as a guest, look for the "Add Google Meet video conferencing" button. A single click is all it takes. This instantly generates a unique meeting link and embeds it right into the calendar invitation that goes out to your guest.
No more back-and-forth emails or confusion about where the meeting is. When it's time to meet, both you and your client can jump into the call directly from the calendar event. Simple.
Pro Tip: I always, always add a clear, concise agenda to the event description. It sets expectations and helps everyone come prepared, which makes for a much more productive meeting. For a client call, this could be as simple as a short list of the topics you'll be covering.
Creating a Personal Appointment with Custom Notifications
Your calendar isn't just for work stuff. Let's say you have a dentist appointment across town and know you need to leave 30 minutes early to beat traffic. This is where Google Calendar's notification system becomes your secret weapon.
Create the event like you normally would. Then, find the notification settings. They usually default to a standard 10 or 30-minute reminder, but you can customize this completely.
For the dentist appointment, you could layer your reminders for a truly foolproof plan:
- Set an email notification for one day before the appointment.
- Add a pop-up notification one hour before as a final heads-up.
- Create a specific notification for 30 minutes before with a custom note like "Time to leave!"
This level of control ensures you never forget an important personal commitment. Once you get the hang of these desktop features, your calendar transforms from a simple schedule into a powerful planning assistant that truly works for you.
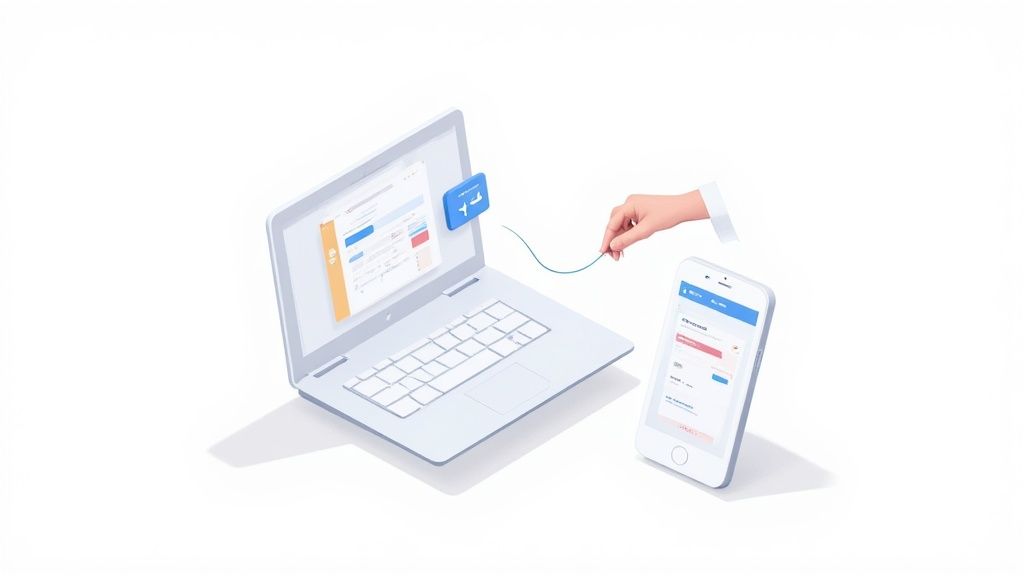
Scheduling Events on the Go with Mobile
In a world where schedules change at a moment's notice, managing your calendar from your pocket isn't just a convenience - it's a necessity. The Google Calendar mobile app gives you the freedom to add events from anywhere, ensuring you never miss a beat whether you're in a taxi or grabbing coffee between meetings.
The heart of the mobile experience is the colorful “+” button floating in the bottom-right corner. A quick tap gives you a clear choice: create an Event, a Task, or a Reminder. Honestly, knowing the difference is key to making mobile scheduling work for you instead of against you.
Events vs. Tasks vs. Reminders
Understanding when to use each option can completely change how you manage your day on the fly. They each have a specific job, and using them correctly helps you organize your time much more effectively.
- Events: This is your go-to for anything with a set time, duration, and potentially other people. Think "Lunch with Sarah" or "Project Kickoff Meeting." Events are the backbone of your calendar, blocking out specific chunks of your day.
- Tasks: This is for your to-do list. "Send follow-up email" or "Buy groceries" are perfect examples. Tasks have due dates but don't clutter your main calendar grid; instead, they live in a dedicated list.
- Reminders: Use these for simple, time-sensitive nudges like "Call Mom at 2 PM" or "Take medication." They're less formal than events and are designed for quick, personal prompts.
Choosing the right tool for the job keeps your calendar clean and your priorities crystal clear.
Mobile-Only Scheduling Tricks
The mobile app has some clever tricks up its sleeve that aren't available on the desktop. These features are built for speed and convenience, making it even easier to add events to Google Calendar while you're on the move.
For instance, you can create an event directly from a message in the Gmail app. When you get an email about a potential meeting, just tap the three-dot menu and select "Create event." It smartly pulls the email's subject and content right into a new calendar entry, saving you from toggling between apps.
My favorite hands-free shortcut is using Google Assistant. Simply say, "Hey Google, add an event: Coffee with Alex tomorrow at 9 AM at The Daily Grind." It parses the command and creates the event without you ever touching the screen. It's a lifesaver when you're driving or have your hands full.
Another powerful mobile-specific feature is the deep integration with Google Maps. When you add a location to an event, like a restaurant for a lunch meeting, your guest can tap the address in their calendar and get directions instantly. This small touch removes friction and makes the whole experience seamless for everyone involved.
By mastering these mobile features, you turn your smartphone into a potent scheduling assistant, keeping you organized and on top of your commitments, no matter where your day takes you.
Automating Event Creation for Your Audience
Manually adding events to Google Calendar is a handy skill for your personal life, but when you're running a business, hosting events, or building a community, the rules of the game change entirely. You aren't just managing your own schedule anymore; you're trying to land your event on the calendars of dozens, hundreds, or even thousands of people.
Asking every single person to manually copy and paste event details is a recipe for disaster. It creates friction, introduces errors, and is a big reason why well-intentioned people forget to show up.
This is exactly where automation becomes your best friend. As part of the team behind Add to Calendar PRO, I’ve seen firsthand how much of a difference it makes to simplify this one, crucial step. Our service is built around a single goal: making it ridiculously easy for your audience to add your event to their calendar with a single click.
Bridging the Gap Between You and Your Audience
Instead of sending out a long list of instructions, you can generate a simple, clean "Add to Calendar" button. You can then pop this button anywhere you communicate with your audience - your website, email newsletter, or social media posts.
When someone clicks it, a perfectly formatted event is automatically created in their personal Google Calendar. All the vital info - title, date, time, location, and description - is pre-filled and, most importantly, 100% accurate.
This isn't just about convenience; it's a seriously effective marketing tool. Think about these real-world situations:
- Webinar Hosts: A marketing team can drop a button right onto their webinar registration confirmation page. Registrants click it once, and boom - the event is on their calendar, automatically adjusted for their time zone and complete with the link to join.
- Small Businesses: A local yoga studio promoting a new workshop can include the button in their emails. This massively cuts down on no-shows from people who genuinely wanted to come but just forgot to block out the time.
- Community Organizers: A nonprofit planning a fundraiser can share a single link on social media. Supporters can instantly add the event to their calendars, which not only serves as a reminder but also boosts visibility when others see it.
The goal is to tear down every possible barrier standing between someone's interest in your event and their actual commitment to be there. An automated calendar link is one of the most powerful ways to build that bridge.
For event organizers, expanding your promotional efforts is always a priority. If you're looking for ways to connect more deeply with attendees, a great next step is to learn how to boost event registration with personalized emails, a strategy that pairs perfectly with automated calendar links.
More Than Just a Button
While the button is the star of the show, truly effective event automation goes deeper. It's about creating a seamless experience from the moment someone discovers your event to the moment they attend.
For instance, our service lets you create RSVP links that do much more than just add an event. You can also collect attendee information, ask custom questions, and manage your sign-ups all in one smooth flow. You can get the full rundown on how to create an RSVP link in our dedicated guide.
Ultimately, automating how people add events to their calendars is about improving their experience to drive better results for you. It guarantees accuracy, eliminates manual errors, and dramatically increases the chances that your audience will not only remember your event but actually show up.
Advanced Tips for Power Users
So, you've got the hang of adding events to your Google Calendar. Nice. But moving beyond just plugging in appointments is where the real magic happens. This is how you go from being a casual user to a power user, turning a simple schedule into a command center for your entire life.
It's no surprise that the calendar app market is absolutely exploding. It's projected to shoot up from USD 3.5 billion in 2023 to a massive USD 7.6 billion by 2032. This isn't just a trend; it shows how essential these tools have become for juggling everything we have going on.
Tame the Chaos with Multiple Calendars
Here’s the single most effective thing you can do: stop dumping everything into one default calendar. It’s a recipe for overwhelm.
Instead, create separate, dedicated calendars for different parts of your life. This simple change brings incredible clarity, letting you instantly filter your view to focus on what matters right now.
I've found a setup like this works wonders:
- Work: All your meetings, project deadlines, and those crucial blocks of focus time.
- Personal: For doctor's appointments, gym sessions, social hangs, and personal to-dos.
- Family: A shared calendar is a lifesaver for school events, kids' activities, and family gatherings.
- Projects: Got a side hustle or a big personal project? Give it its own calendar to track milestones.
Each calendar gets its own color, so a quick glance tells you exactly how your day, week, or month is shaping up. Plus, you can easily share just the family calendar without giving everyone a peek at your work meetings.
Dig Into Time Insights and Master a Few Shortcuts
To really take control of your time, you need to know where it's going. Google Calendar’s "Time Insights" feature (if your account has it) is brilliant for this. It breaks down your schedule, showing you how much time you spend in meetings and who you meet with the most. It’s the data you need to start clawing back your focus time.
Want a quick win? Learn a couple of keyboard shortcuts. On your desktop, just hit "C" to create a new event instantly. "T" will always jump you back to today's view. These little habits feel small, but they add up to a ton of saved time.
For anyone who organizes virtual events, think about applying concepts from web analytics. Ideas like custom event tracking can give you a powerful new way to understand the reach and engagement of your online gatherings.
Finally, connecting your calendar to other tools is a huge productivity booster. If you find yourself regularly sharing events with people outside your organization, knowing how to create an ICS file is a game-changer. It's the universal key that ensures your event details land perfectly in almost any calendar app, every single time.
Frequently Asked Questions
Even when you feel like you've mastered Google Calendar, there are always a few tricky situations that pop up. As part of the Add to Calendar PRO team, I've heard just about every question in the book. Let's tackle a few of the most common ones.
How Do I Add an Event from Gmail to My Calendar?
This is a classic. The good news is that Google is pretty smart about this. It often spots things like flight confirmations or dinner reservations right in your emails and gives you a handy "Add to Calendar" link at the top of the message. If you see it, click it - it's the fastest way.
But what if Google doesn't catch it? No problem. You can still create an event from any email. Just click the three-dot menu in the email's toolbar and choose "Create event."
This pops open a new calendar entry and cleverly pre-fills it with the email's subject and body. All you have to do is give it a quick once-over and hit save.
Think about a colleague emailing, "Let's meet next Tuesday at 2 PM to discuss the project." Using the 'Create event' feature is a lifesaver here. It pulls all that context directly into your calendar, saving you the tedious copy-and-paste shuffle.
Can I Import Events from Another Calendar?
Yes, and it's a feature you'll be glad exists, especially if you're switching over from another app like Microsoft Outlook or have a schedule someone sent you as a file.
You'll need to be on your computer for this one, not your phone.
- First, head to Settings by clicking the little gear icon.
- Next, find the Import & Export section in the menu.
- From there, you can upload standard calendar files like iCal (
.ics) or even a CSV.
It's the perfect tool for getting all your schedules consolidated into one master calendar.
What Is the Best Way to Share a Google Calendar?
Sharing a calendar is the secret to coordinating schedules with anyone, whether it's your family, friends, or your team at work.
On the desktop version, look for the calendar you want to share in the left-hand menu. Hover over its name, click the three-dot menu that shows up, and select "Settings and sharing."
You've got two main ways to go:
- Get a shareable link: This creates a public URL. It’s great for when you need to broadcast a schedule to a wide audience, like a public event series.
- Share with specific people: This is more controlled. You can invite people by their email address and set their permissions. Decide if they can just view events or if they can also make changes. You're in complete control.
When you're sharing events with a larger audience, though, you want it to be dead simple for them. A straightforward button can make all the difference. At Add to Calendar PRO, our service was designed to close the gap between your event announcement and your audience's calendar with easy-to-use buttons and links. Explore Add to Calendar PRO and see how it can help you get more people to show up.